NOTES
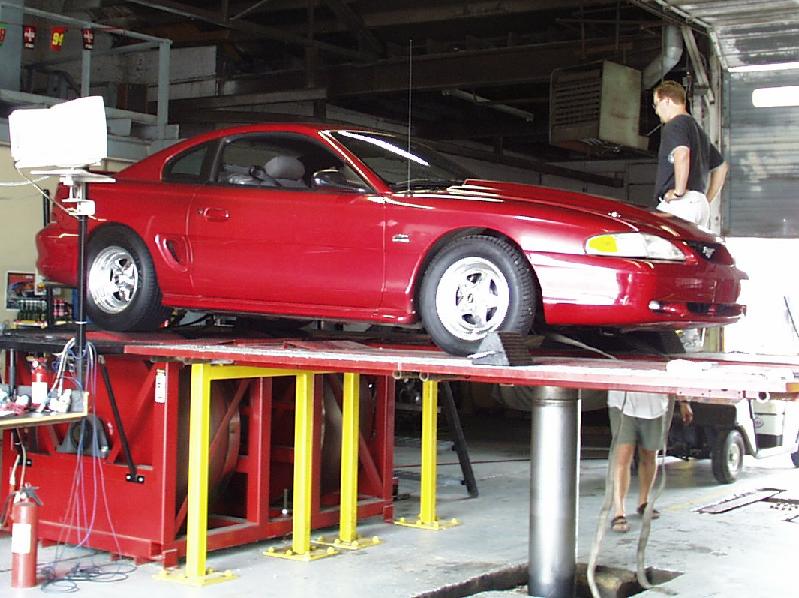
One thing to note is that my car is lowered about 1.5" in the front and 1.25" or so inches in the back due to my H&R Racing springs. Any clearances I have may be different depending on the ride height of your car.
Fitting Weld Racing Pro Stars on a 1995 Mustang GT
I have a lot of people ask
about my wheel/tire combination, so I hope this page will answer a lot of the
questions I am frequently asked. I am quite happy with the look my car has
and its stance.

NOTES
One thing to note is that my car is lowered about 1.5" in the front
and 1.25" or so inches in the back due to my H&R Racing springs.
Any clearances I have may be different depending on the ride height of your car.
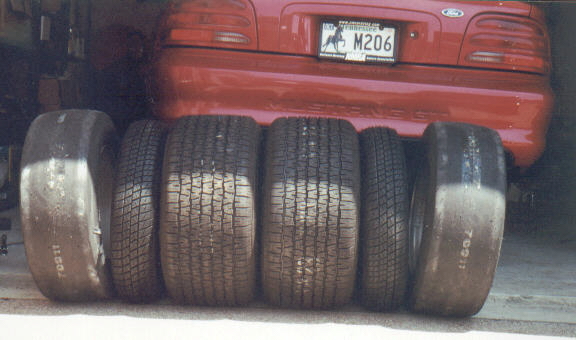
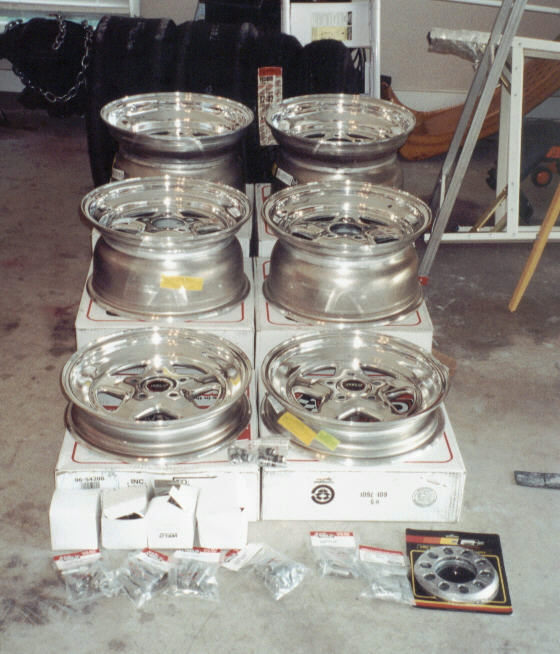
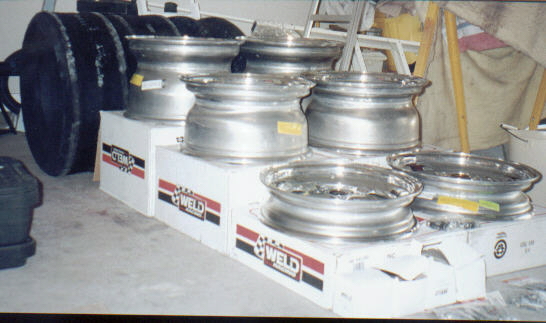
| Wheel | Size | Backspacing | Weld Part Number |
| Rear (Street) | 15x10 | 6.5 | 96-510212 |
| Rear (Track) | 15x8 | 5.5 | 96-58210 |
| Front | 15x3.5 | 1.75 | 96-54200 |
FITMENT
(top)
Everything cleared well in the back, but I did do some
slight, easy modifications. The brake
rotors and calipers clear fine. You have to bend the emergency brake cable
down about 90* or so. A BFH (Big F-ing Hammer) did it quick and easy.
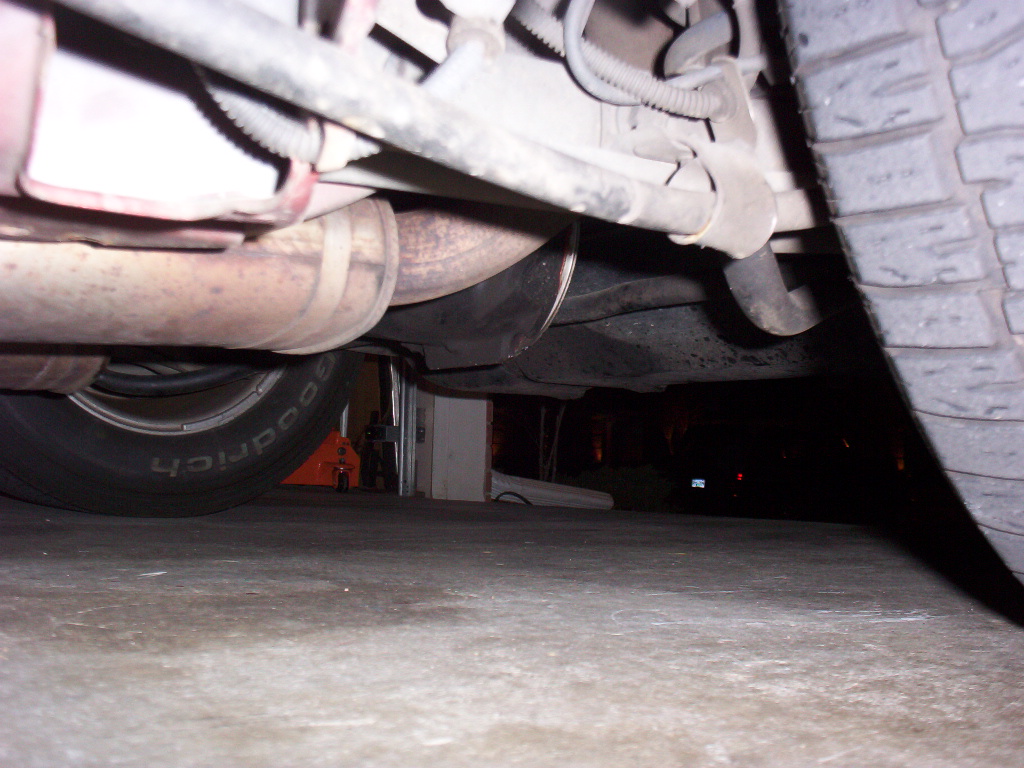
I also flipped the quad shocks over - they are 50/50 so it doesn't matter, but
it does give much more tire clearance. I had to cut the boot off the
driver's side quad because the rear is apparently a little off center. No
big deal there either.
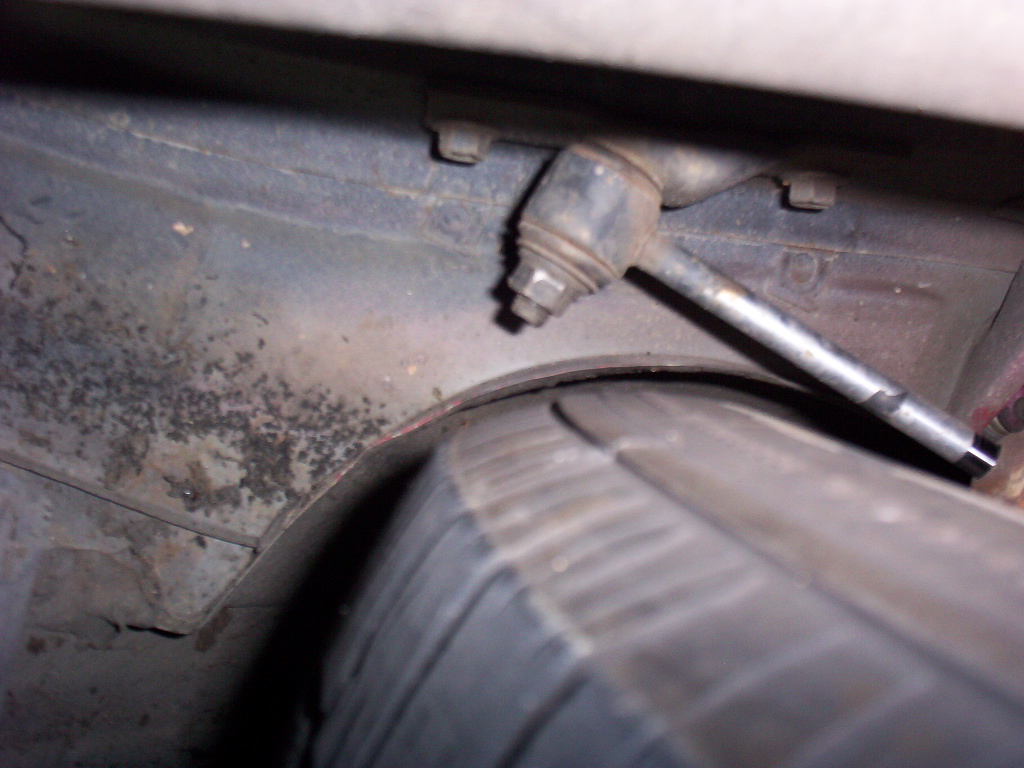
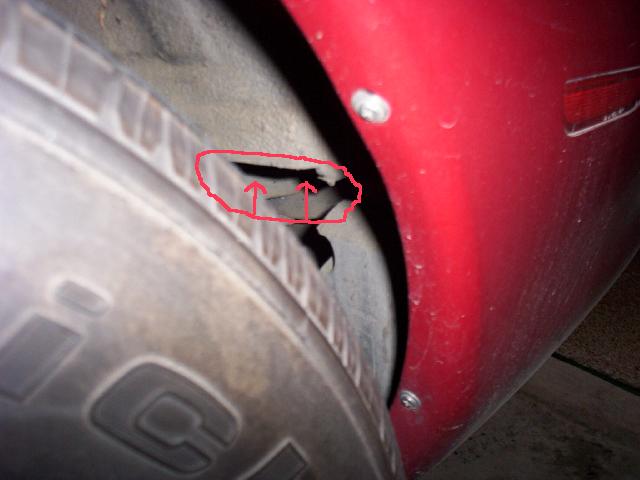
Last, I hammered the lip in the rear of the fender up a little bit. It
didn't hit normally, but with a heavy load in the trunk or back seat, it got
close. I figured, I may as well get more clearance, but again, a couple
swings with a BFH is all you need. That edge is sharp and the last place I
want to have close tire clearance is on a sharp edge. Exhaust pipes are still
stock and cleared fine. It's close, but they don't rub. That will also
depend on the quality of your H pipe - I have a cheap one that fits terrible.
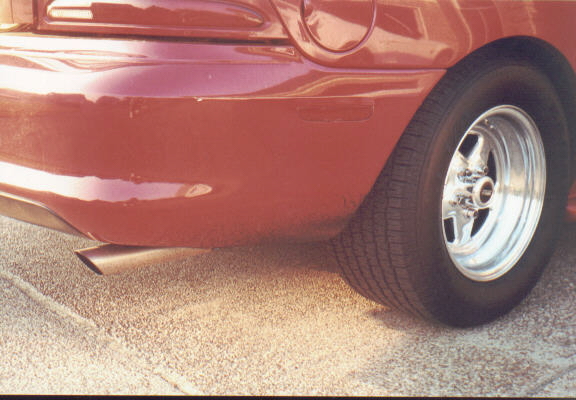
No rolling the fender lip, no hammering the inner
fender, no removing the quads. Not bad - hardly any work for some big meats in
the back. The rear tires just come to the edge of the fender, but they are
inside the top edge of the fender. Fits absolutely perfect, I think.
(top)
Now for the fronts. You HAVE to do some grinding. I ran with a
7/16" spacer (still have them in the attic if anyone wants them, let
me know) and ground the bar down the side of the caliper down about halfway
(maybe 1/8" - 1/4"?). That worked, but there wasn't much lug in
the lugnut (even with the extended studs) and was borderline non-NHRA legal (may
not have been). It also made the fronts stick out more than I liked.
Looked fine, but not as good as it could be.
* Pics to come later *
To get rid of the spacer, that bar needs to be completely cut off. You
also have to grind the outer face of the caliper down - mostly in the center of
the outside face above the u-shaped notch in the middle. I used some chalk
and rubbed the side of the caliper, then installed the wheel and spun it by
hand. It would rub the chalk off where it hit. Pull the wheel and
grind some more. I repeated this process many times. It was tedious,
but I didn't want to take any more material off than I had to, so I did it a
little bit at a time.
It took me about a hour or more on the first wheel. Then I knew how much
to take off and the 2nd wheel was about 10-15 minutes. I have a big
9" and smaller 3.5" angle grinder that took the metal off fast.
This would be a
lot more tedious with a dremel.
I haven't noticed any ill effects from modifying the front brakes, but I also
don't drive a whole lot. 15 miles round trip about 3 times a week is
pretty much all the street time I see with it anymore. The look and the
weight savings was certainly worth it. I love the way it looks!
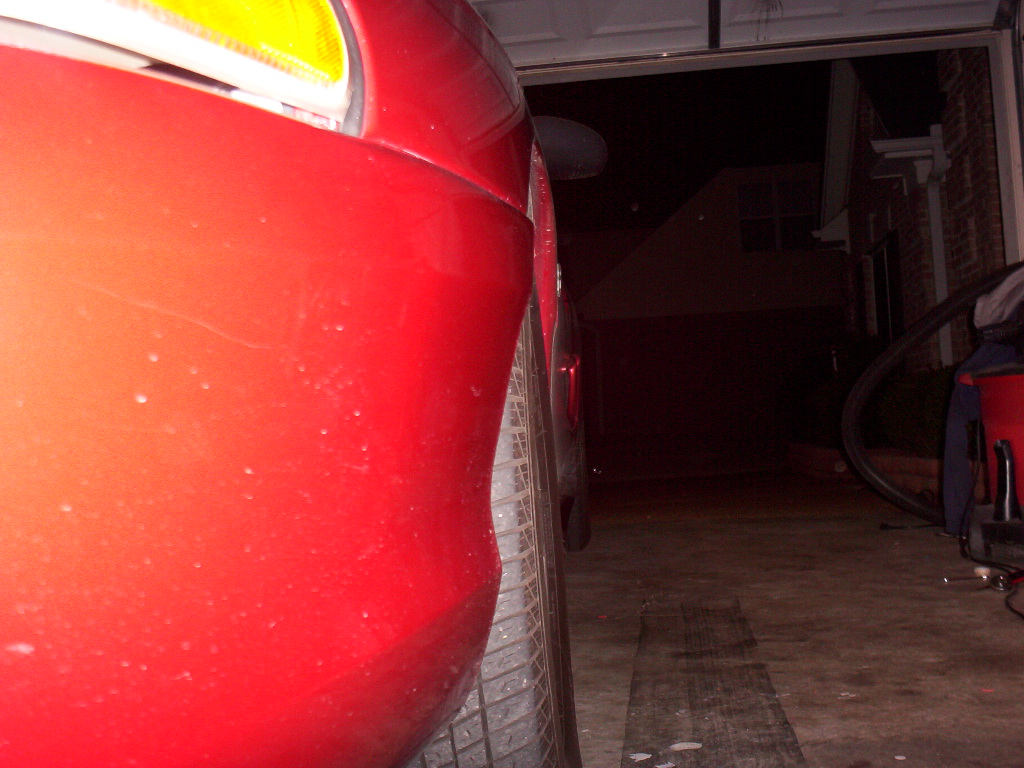
Here are a bunch of other pictures (including
hi-res versions of the pics on this page)
http://schwarzmann.com/pictures/mustang95/projects/wheelsandtires/